Now, you might think that you can just type in their email addresses and send it. Yes, you can do so. But, doing that again and again especially if you always have to send it to a lot of people is a lot of effort and chances are you might forget including some people. So, in those cases, you can create a group in Gmail. If you are unaware of how to do so on this platform, worry no more because, with this article, we have you covered.
How to Create a Group in Gmail?
If you are a working person or, have to share information with any group, this feature to create a group in Gmail makes your work very easy. When you create a group in Gmail, you will be able to select all people from the contacts you want and put them in a separate group and when you send an email to this group, it will be sent to all the members and will save you from forwarding it and checking if everyone was included or not.
1. Create a Group using a Phone
You can create a group on Gmail using your phone as well i.e. by using the Gmail app on your phone. But, you must make sure that you have installed the Google Contacts app and are permitted to share your contacts with it. Once you do so, follow the given steps:
1. Open Gmail and log into your account.
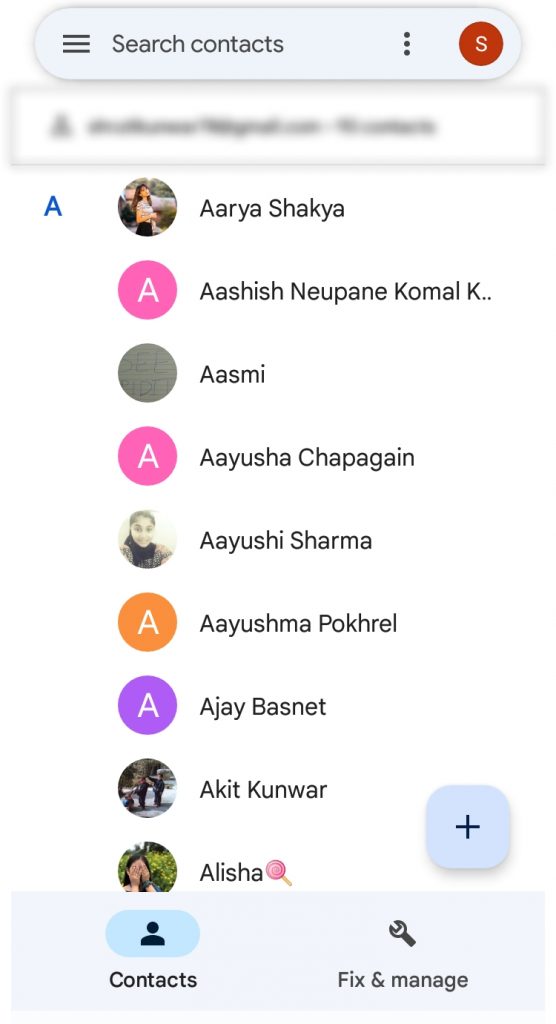
2. Click on the ‘Hamburger icon’ and select ‘contacts’ option.
3. You will be taken to a list of your contacts.
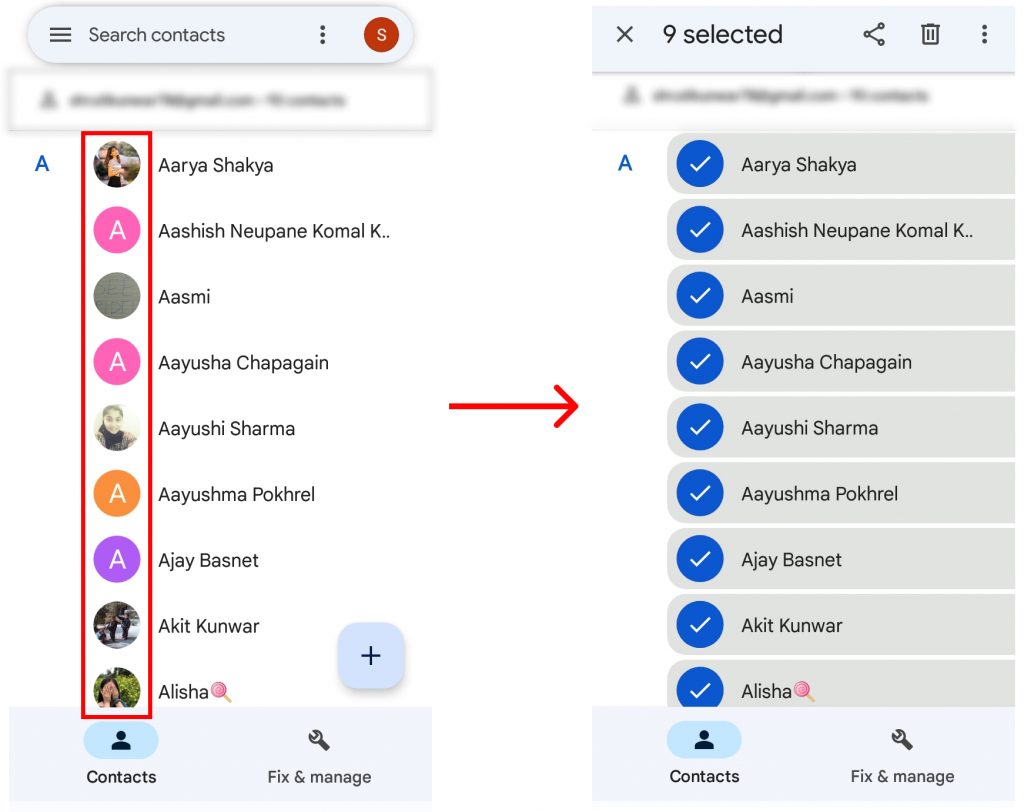
4. Select the people you want to include in the group by pressing on their profile picture for some seconds.
5. Once you have selected everyone you want, click on ‘Three dots’ icon.
6. Select ‘Add to label’ option.
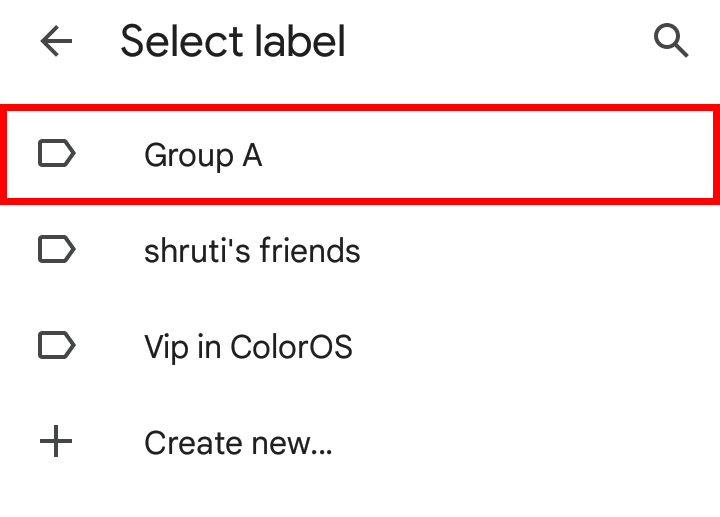
7. Either add them to a group/label previously created or, select ‘Create new…’.
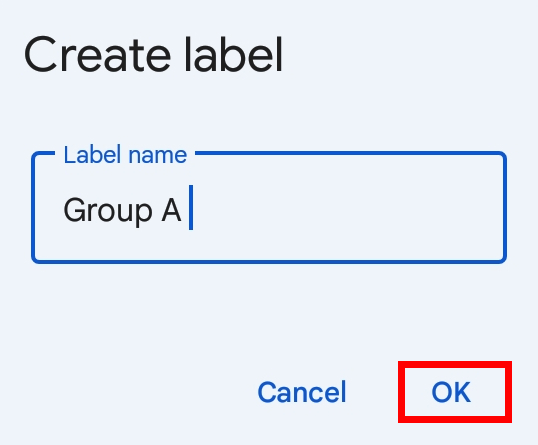
8. Enter the name for label and click on ‘OK’.
9. You will see that a label/group has been created.
In this way, you can create a group in Gmail using your phone.
2. Create a Group using Computer
You can also create a group in Gmail by using your computers/PCs. Using the web version to create a group is much easier and takes fewer steps than it would on phone. First, make sure that you are logged in with your Gmail account on that device. To create a group, follow the given steps:
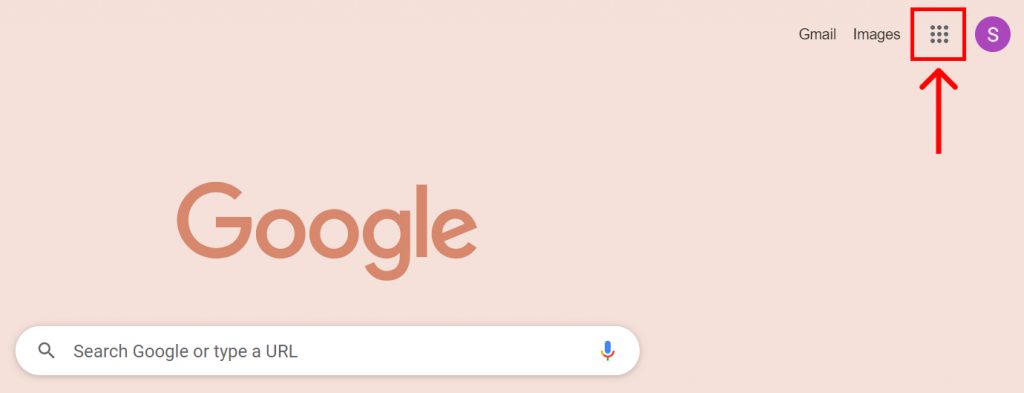
1. Open a tab and click on ‘Google apps’ icon.
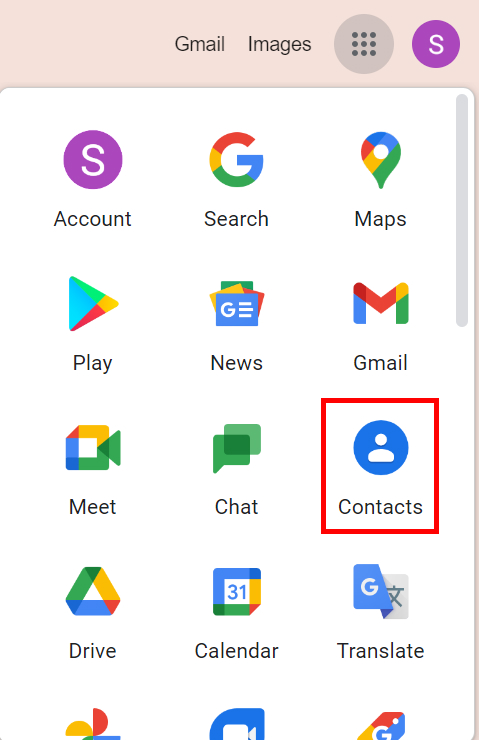
2. Select ‘Contacts’.
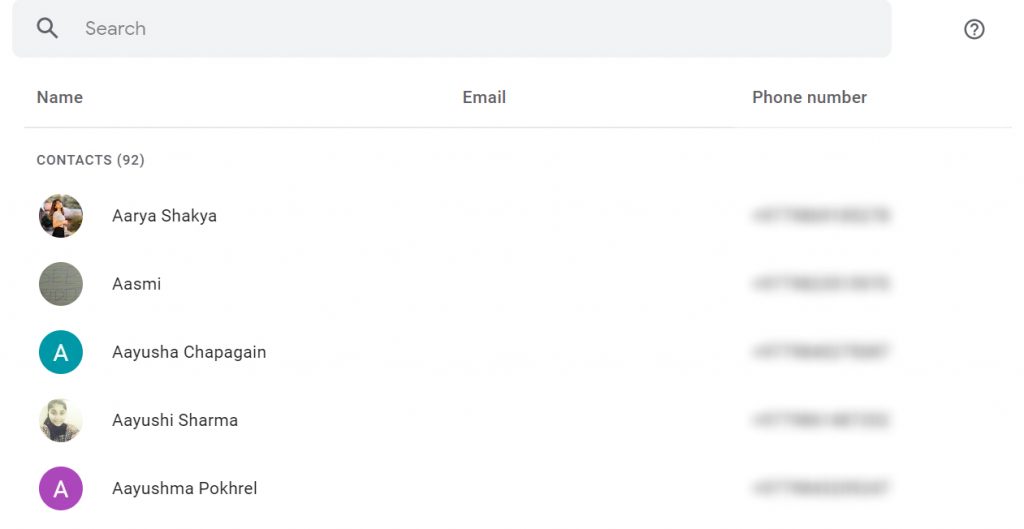
3. You will be directed to the contacts tab.
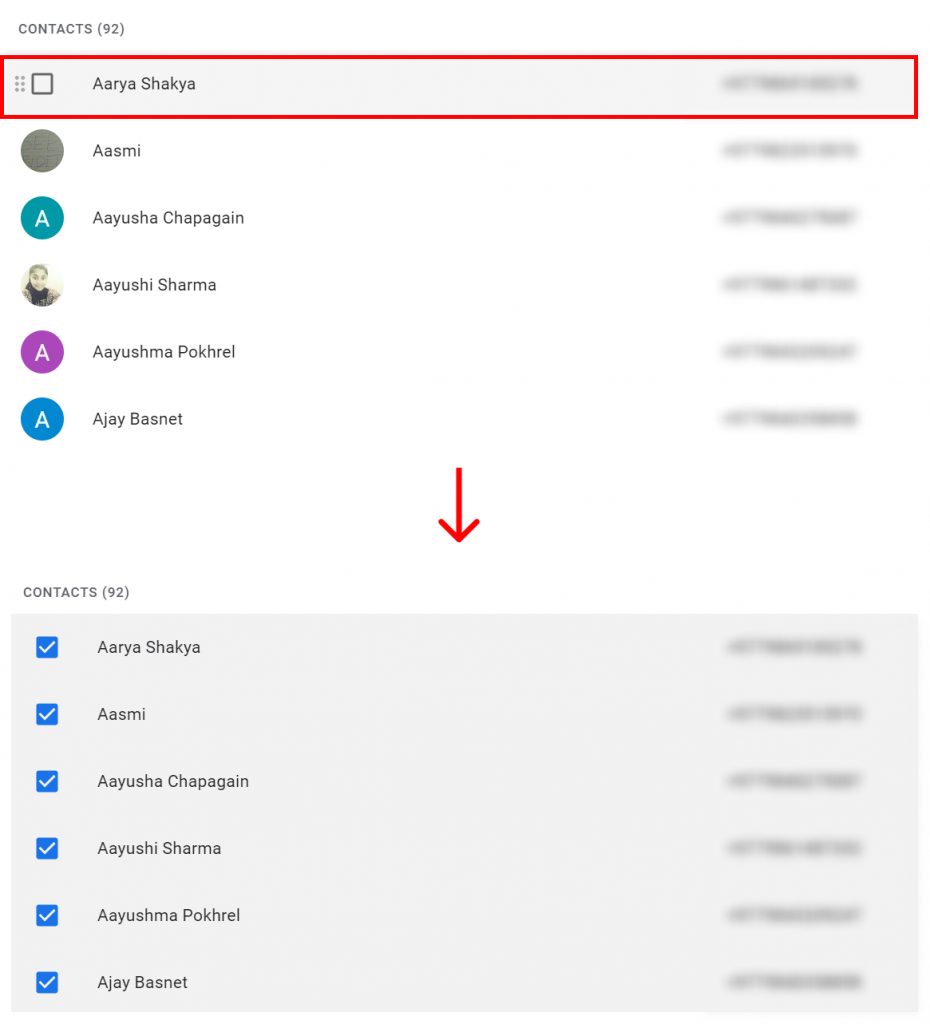
4. Take your cursor over to the profile picture of people you want to add to the group and click on the box to select them.
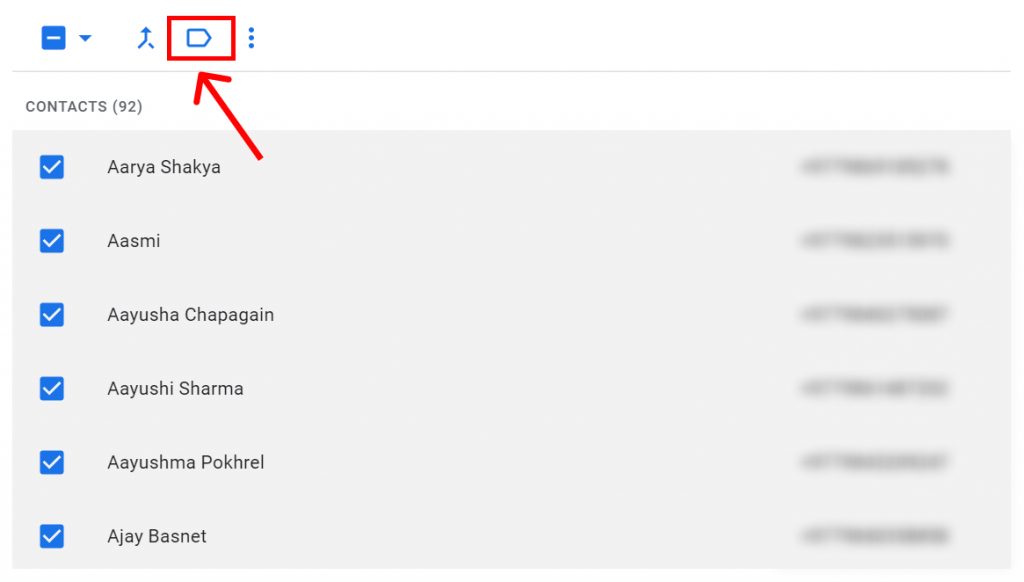
5. Once you select everyone you want, click on the ‘Labels’ option.
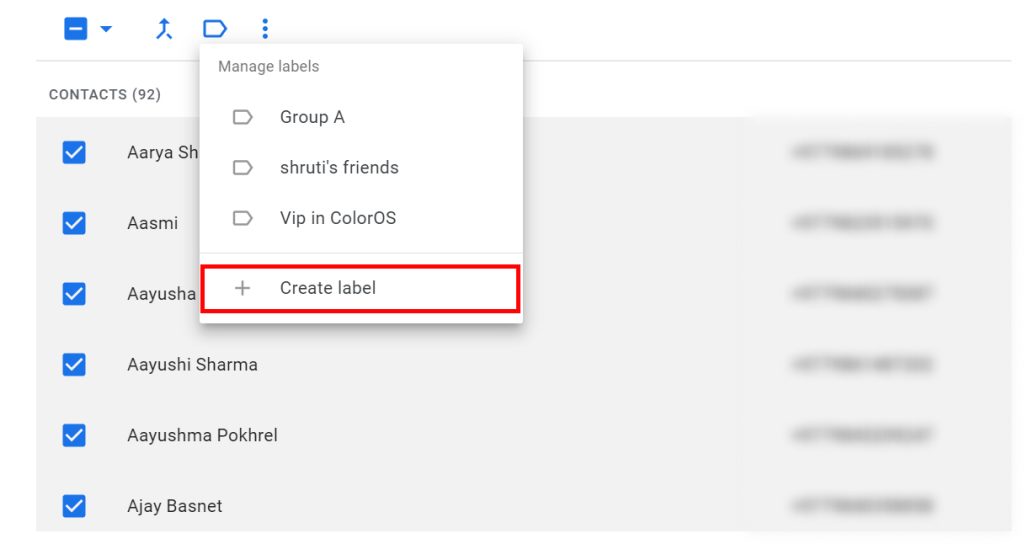
6. Select ‘Create label’ option.
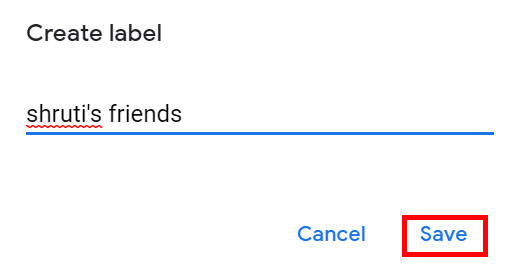
7. Enter the group’s name and click on ‘Save’.
This way, you can create a group in Gmail using your computers/PCs.
Conclusion
Hence, by using the steps mentioned above, you can now easily create a group in Gmail using your phones and computers. You can also remove them anytime you want from the group. To send an email, just compose it and add the name of your label in the ‘To’ section. Then, when you send that email, everyone will be able to receive it at once. Hope this article was helpful and cleared your doubts. Feel free to ask questions in case of any queries.
Δ